


This smooth, opaque made-in-France shirt falls beautifully and is easy to care for. What's more, it's slightly stretchy for maximum comfort. Our best seller! Its innovative fabric is made from ...


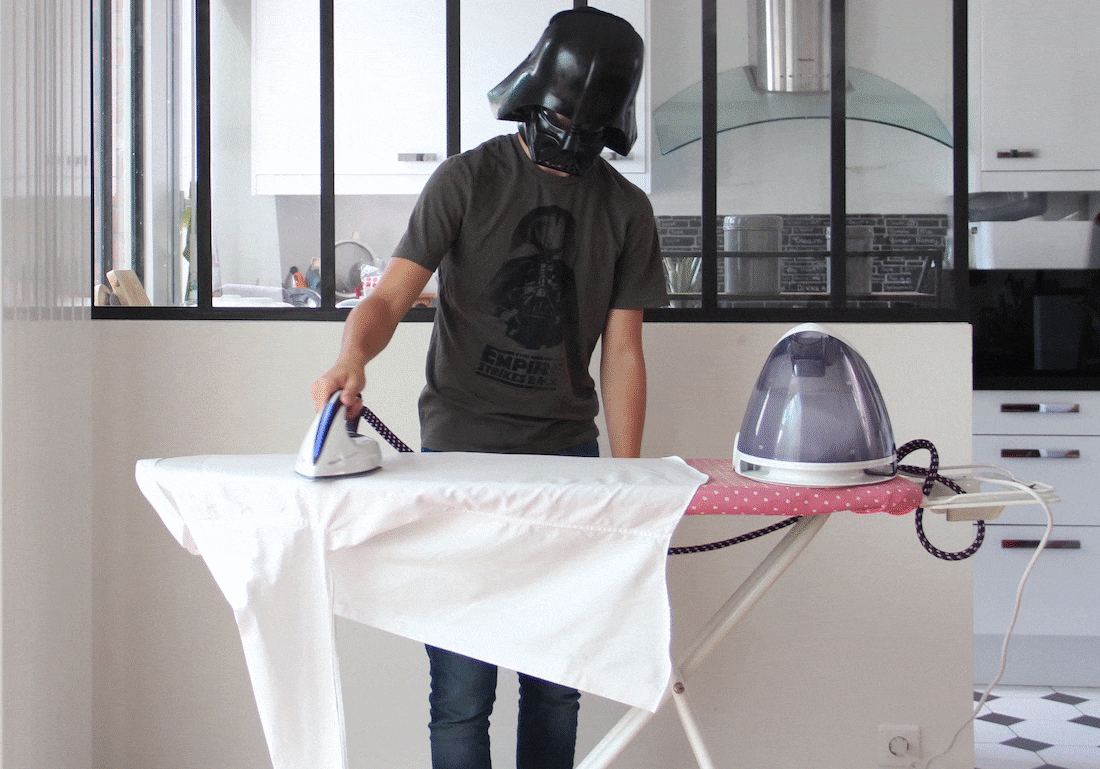
Would you like to know how to iron your shirt? Which side to start with? The collar? Sleeve length? We'll show you that it's easier than it looks. You can iron your shirt in less than 10 minutes. Here are our tips for fast, efficient ironing.
If Darth Vader can do it, why can't you? Ps: I've even heard that he sometimes uses easy-iron shirts from LE CHEMISEUR®.
Fast ironing in 5 steps
Step 1 - Shirt back length
Lay the back of the shirt flat, placing the collar on the rounded edge of the board. Lightly dampen the fabric or play with the steam of your iron and slide it up and down the shirt.
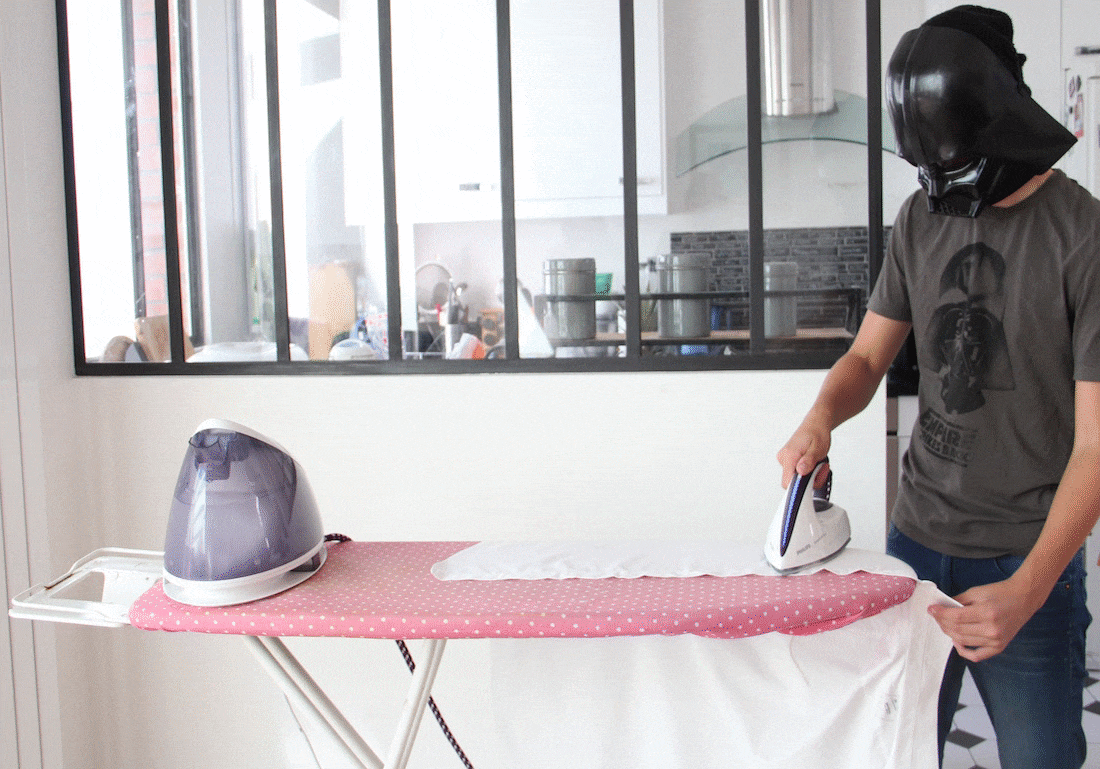
Step 2 - Sleeve length
Position the sleeve so that the body of the shirt is flush with the rounded edge of the board. This will avoid creasing the now impeccable back length. Then iron from the top of the sleeve, from the shoulder to the wrist. Turn the sleeve over and do the same. And don't forget the other arm!
Step 3 - Wrists
Unbutton one wrist and lay it flat. Iron the outside, moving all folds to the edges. For musketeers, make sure the wrist is completely unfolded. Tip: Avoid ironing buttons, as this will leave ugly marks.
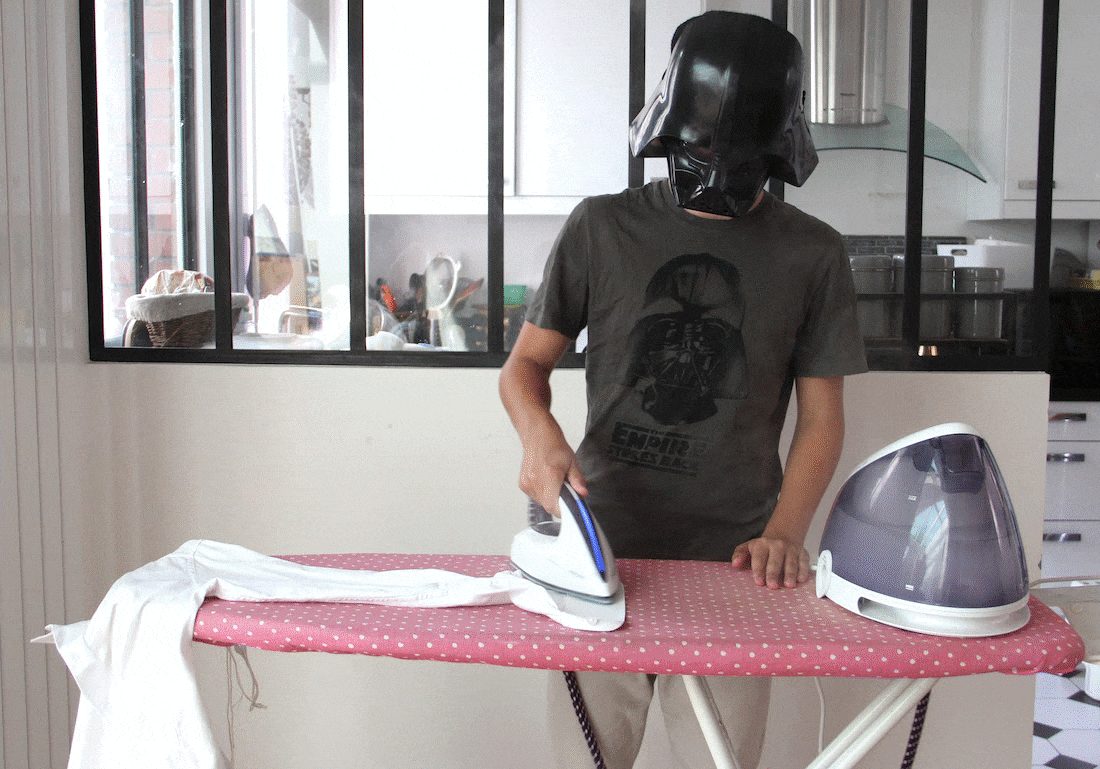
Step 4 - Shirt front
Start with the side that has buttons, taking care to go around them. Start at the top of the shoulder and iron in small circular movements to the Leg opening.
Step 5 - The collar
We finish with the most visible part of the shirt. Unfold the collar of your shirt and lay it flat, removing the stays beforehand. Take advantage of the roundness of your board to hang your shirt. Iron the outside of the collar from one end to the other. Avoid ironing directly onto the label.
MAY THE FORCE BE WITH YOU!
Our easy care shirts for easy ironing
To make your life easier, we've selected a number of easy-care shirts for you .
TIP : Wash your shirts with a gentle spin (600 or 900 rpm maximum), as it is the spinning that is responsible for a large proportion of the wrinkles that must then be ironed out. Hang shirts on hangers straight away, and let them finish drying. You'll then hardly need to iron them at all (depending on how demanding you are), or just one quick stroke to remove the last few creases.
To find out more, read our article on how to care for your shirt.
Essential tools for good ironing
The ironing board
First and foremost, you'll need to get out your ironing board. A thousand times better than your living-room ironing board, it's specially designed to make ironing a breeze, so take heart!
The iron
Next, you'll need a clean iron, free of rust and limescale (it's better that way!). If your iron isn't in tip-top condition, here's how to give it a second lease of life. Does your iron have black marks? Rub the soleplate with Marseille soap. Is your iron sole yellowed? Wipe with a cloth soaked in white vinegar.
In both cases, wipe the sock with a clean, slightly damp cloth. See also our tips and tricks for removing stains from your shirts. If you don't have a steam iron, you may find it useful to put a little water in a spray bottle to moisten your shirt before ironing.
Iron heat
You'll need to know the type of fabric your shirt is made of, so you can set it to the right temperature. LE CHEMISEUR® fabrics, cotton and linen, can all be ironed at high temperatures. Silk and synthetics, on the other hand, can be ironed at low temperatures. If you'd like to find out more about how to care for your shirts according to their material and composition, then visit our dedicated article on shirt care tips, or Easy Iron Shirts.


Join "Le Club"!
Join "Le Club"!
Enjoy 5% back on all orders and receive the Newsletter.
Protected by reCAPTCHA.
Something went wrong, could you try again later?


Excellent customer service
4.7

100 day Fit Guarantee
Practical Information
LE CHEMISEUR® - 22 rue Notre Dame de Nazareth - 75003 Paris France
T&C & Legal Notice Cookie Preferences